

Where Imports lives
Imports is a settings-area page at/imports, not part of the main sidebar. Open it from your avatar menu in the top-right corner by selecting Bulk Imports. The page is permission-gated — it requires administrator access, and the menu item is disabled for non-admin users.
The Imports page
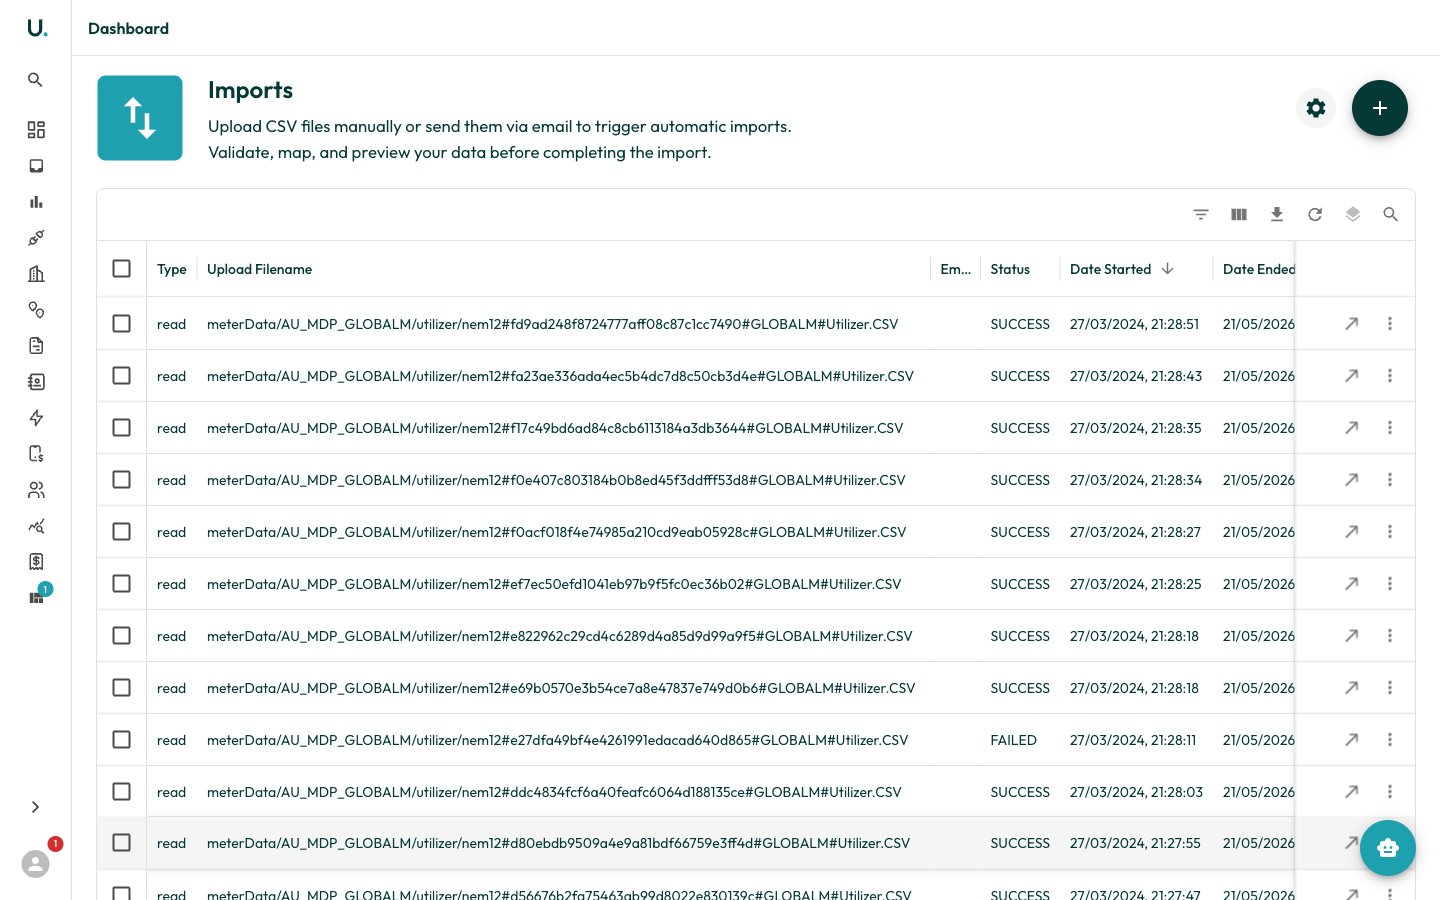
The page lists your previous upload tasks in a data grid, sorted with the most recent first. Each row covers one uploaded file:
Use the + button in the top-right to open the Bulk Import Wizard, and the settings (gear) icon to open Email Import Settings, where you configure importing data by email.
Import status lifecycle
As UMS processes a file, its Status moves through these states:
Processing runs in the background. The wizard shows live per-file progress while you watch, and the grid keeps the latest status once you leave.
Reviewing results and errors
Each row in the grid has a menu for reviewing the outcome:- Download — Retrieve the original file you uploaded.
- Exceptions — Download a CSV of the rows that failed, each with its error type and message.
- Result Data — Download a CSV showing the per-row outcome (
SUCCESSorFAILED, with a failure reason) for the whole file. - Refresh — Re-check the status of an in-progress task.
Invalid rows are reported rather than silently dropped. Use the Exceptions report to see exactly which rows were rejected and why, fix them, then re-import just those rows.